Graphics and Clips Playout
The Playout view offers all of the tools need during your broadcast, except for replay and telestration tools In the Playout view, you can:
- Load graphics, images or clips to one of the graphics or clips channels.
- Preview graphics and clips.
- Preview graphics and their animations.
- Play graphics and clips to the Preview or the Program channel.
Click the Playout button, near the top right of the interface. The Playout view appears with Playlists on the left, the Preview and Program monitors on the top, the multiviewer at the bottom and graphics and clips preview and output channel monitors in the center.
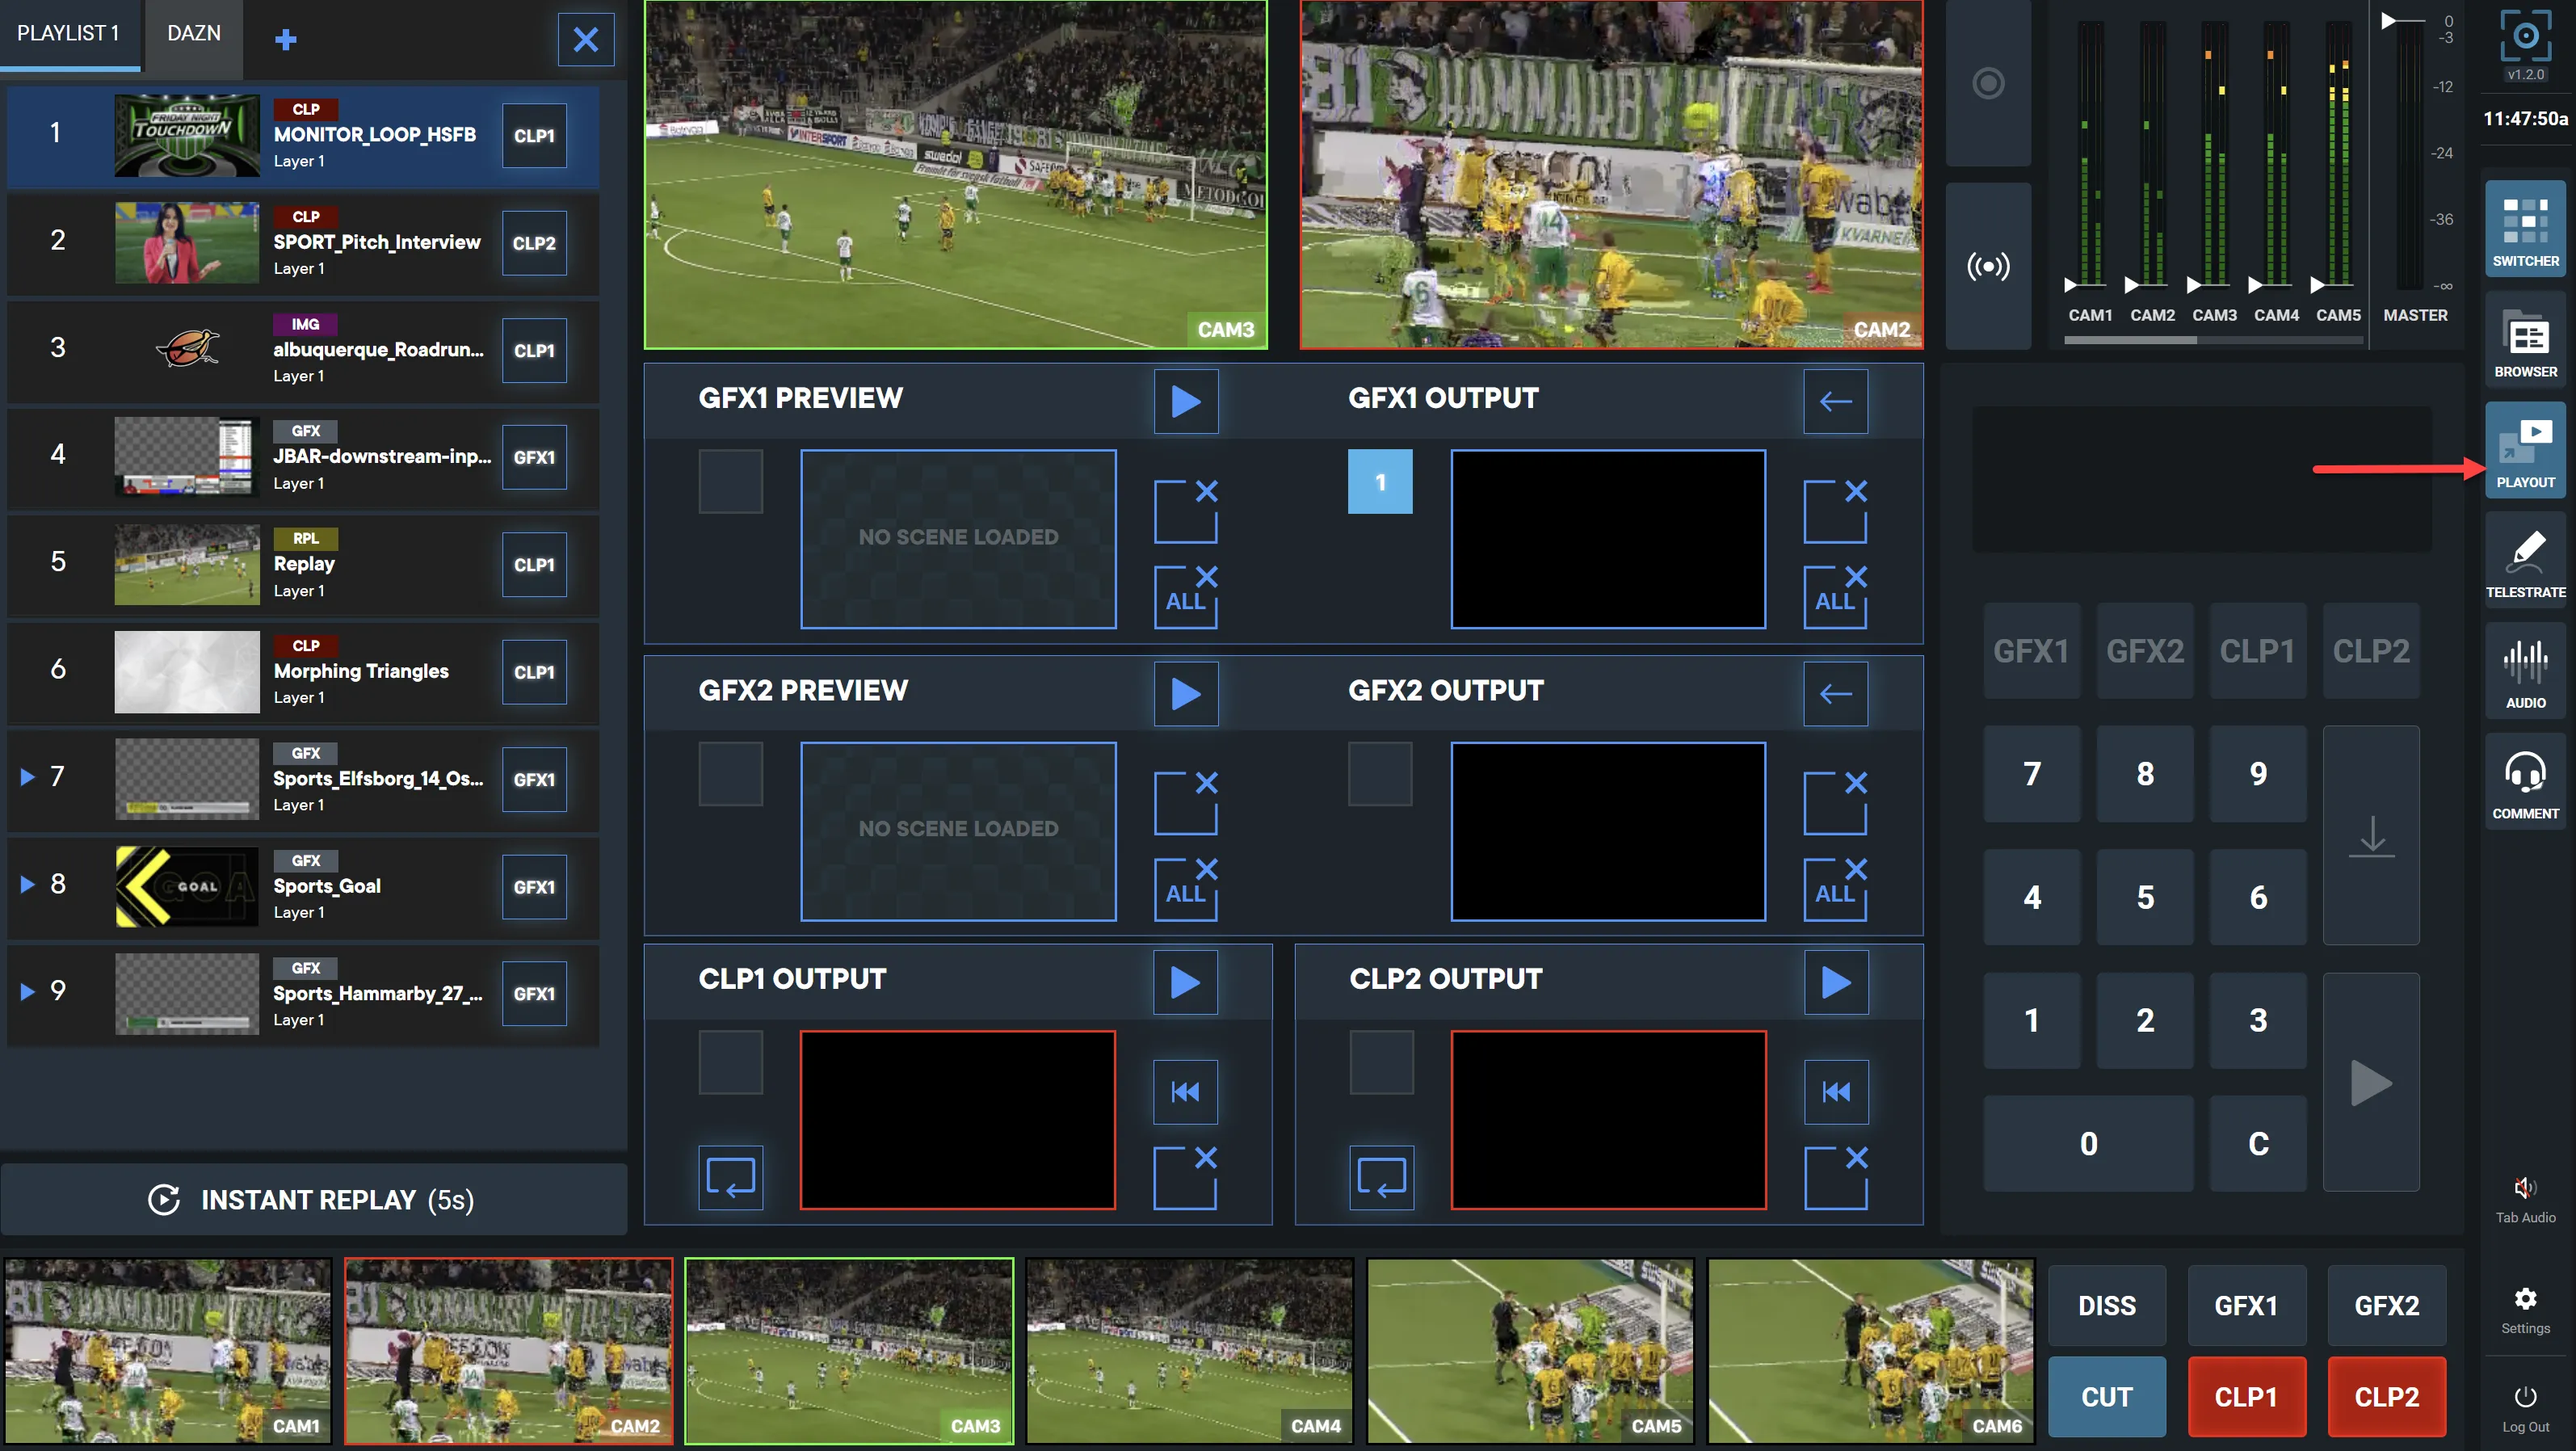
- Each Clip player channel is represented by a single window. A clip that is loaded to one of these channels may be in an internal preview state, in the Preview channel, or in the Program output channel.
- Each Graphics (GFX) channel is represented by a Preview window, for graphics in internal Preview or Preview, and a Program window, for graphics in the Program output.
In the Playlist pane on the left side of the interface, click the tab to select the playlist that you want to use. If you do not see the tab for the Playlist that you want, do one of these:
- Click and drag the scroll bar beneath the Playlist tabs.
- Return to the Browser view and select the Playlist tab, above the browsers.
- Select the Playlist that you want to use.
The selected Playlist tab is indicated with a light blue underline.
Select the Playlist and then click its X button.
To play a graphic or a clip in the LIVE output, you must specify its playout channel, add it to the channel and then send it to the Preview or Program output.
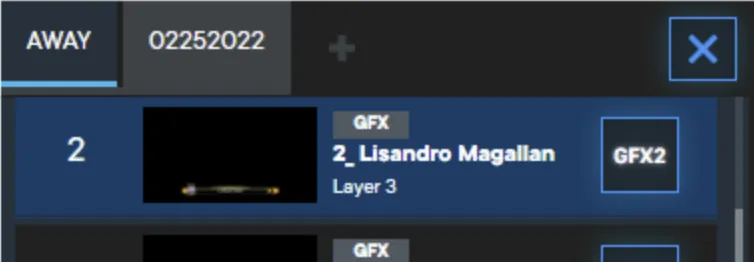
Click the channel Indicator at the right of the asset’s thumbnail in the Playlist and, if necessary, click it again until this indicator displays the desired channel name.
- Click the thumbnail of the item in the Playlist to load it to the Preview for selected channel.
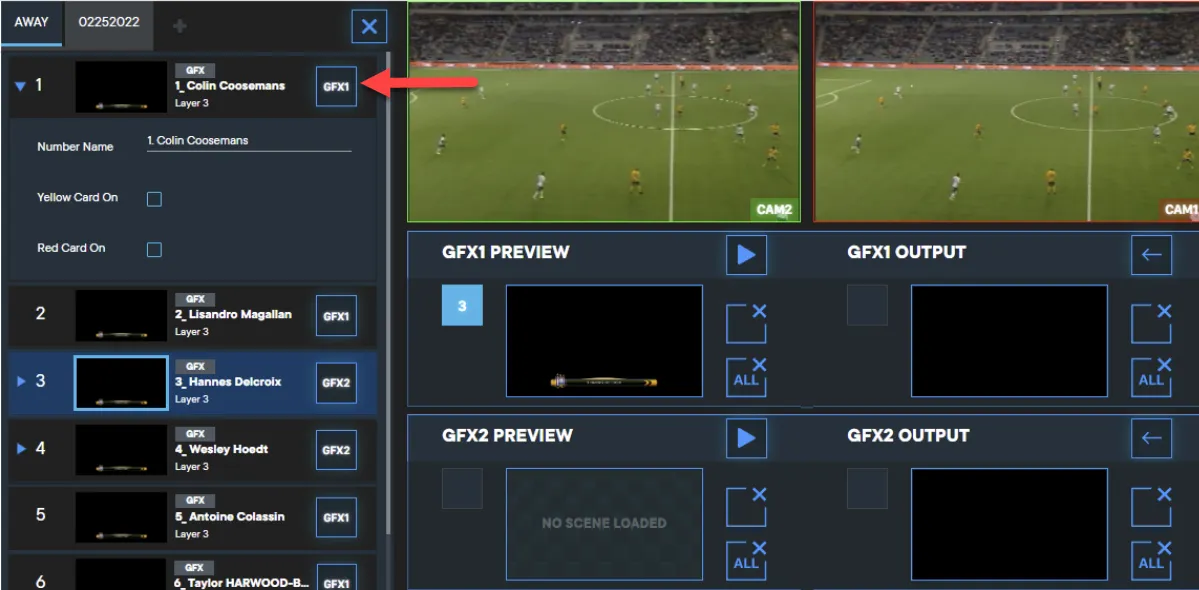
Some graphics are designed with replaceable fields, so that you can use them as templates. You may use the same graphic several times in a single broadcast, but with different text entered into one or more replaceable fields each time. See the instructions here.
Once the output channel is specified and any replaceable fields are fulfilled, double-click the asset in the playlist to send it directly to output.
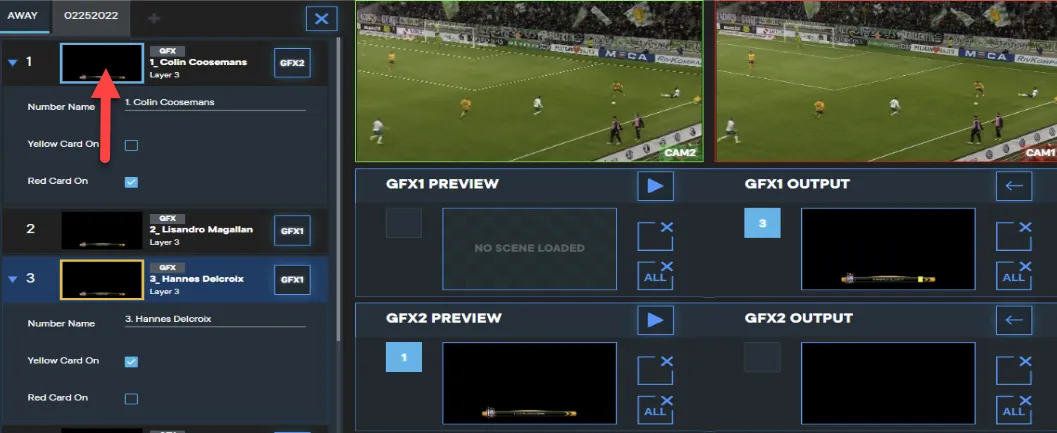
Once the output channel is specified and any replaceable fields are fulfilled, click the asset in the playlist to send it directly to the preview monitor of the specified channel. The graphic or clip appears in the specified Preview monitor, in the center of the interface. The Preview monitor has a border:
- A blue border indicates that the asset is visible here for internal preview only. It is not actually loaded to the system Preview channel and switching the main Program and Preview monitors does not take it to the output.
Click the channel preview window to change its state.
- A green border indicates that the asset is loaded to the Preview channel.
Click the channel preview window to change its state.
- A red border indicates that the asset is loaded to the Program channel and is in the system output.
You can play graphics (scenes) along with any built-in animations, as well as clips, in any state. Play them in the internal Preview to see and confirm how they look and behave. Play them in Preview to see how they look over video in the Preview channel. Or, play them in the output channel to activate them in the output.
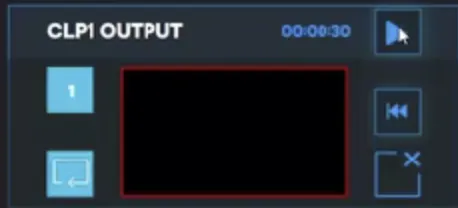
NOTE: The clip may be in the internal preview (blue border), preview (green border) or playout (red border) state. Using these controls does not change its state.
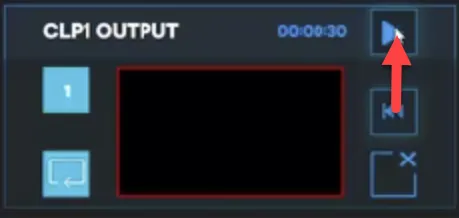
- Click the Play button to play the clip. Once the clip is playing, this button becomes a Pause button.
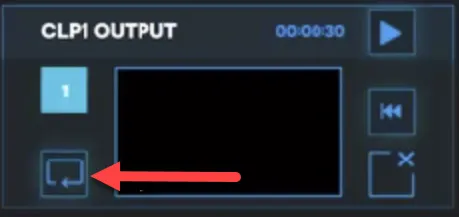
- Click the Loop button to set the clip to continuously loop.
- Click the Rewind button to return the clip to its first frame.
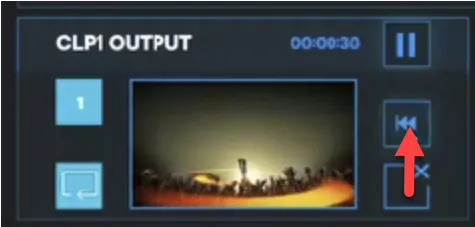
- To remove the clip from the Program output, click the Preview monitor at the top of the user interface to switch it to the Preview channel or click the channel monitor to cycle it to the internal Preview or Preview state.
- Click the Clear button to unload the clip from this channel. The clip remains in the playlist.
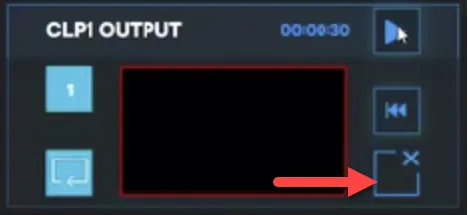
NOTE: The graphics may be in the internal preview (blue border), preview (green border) or playout (red border) state. Using these controls does not change its state.
- Click the GFX Output monitor to change the graphic’s state from internal Preview (blue border) to Preview, Preview (green border) to Program, or Program (red border) back to internal Preview.
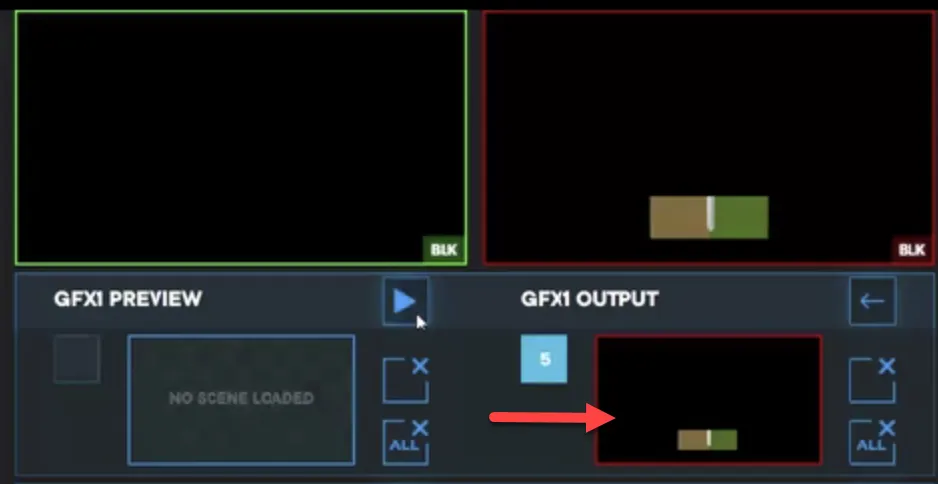
- To play a graphic with its animations, in internal Preview, Preview or Program, click the Play button.

- To return a graphic from the GFX Output channel to the internal Preview, click the Back arrow.

Load each graphic to the channel just as you would load a single graphic. Each graphic’s number appears in a button next to the channel monitor. Select one of the buttons to specify the graphic that you want to play when you click the Play button.

Do one of these:
- If only one graphic is loaded to the channel, click the Clear button.
- If more than one graphic is loaded to the channel, select the number button of the graphic you want to remove and then click the Clear button.

- If you want to remove all graphics from the channel, click the Clear All but

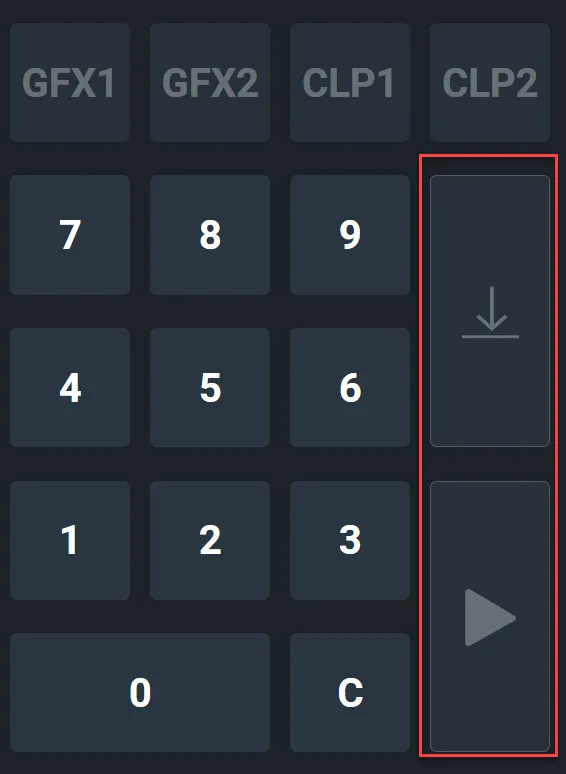
In fast moving productions, such as a high velocity sporting event, you may want to recall and play graphics quickly. You can use the number keypad, within the interface, to recall graphics by their number in the playlist.
TIP: For sporting events with player jersey numbers, you may want to order Home and Away team playlists so that each graphic with a player name, stats or headshot has a number that matches the player’s jersey number.
To recall graphics by number:
- Use the numeric keypad to enter the graphic’s number, as listed in the Playlist.
- Use the Channel Selection buttons at the left of the numeric keypad to indicate the channel to use for this graphic. You may skip this step to allow the graphic to default to GFX1.
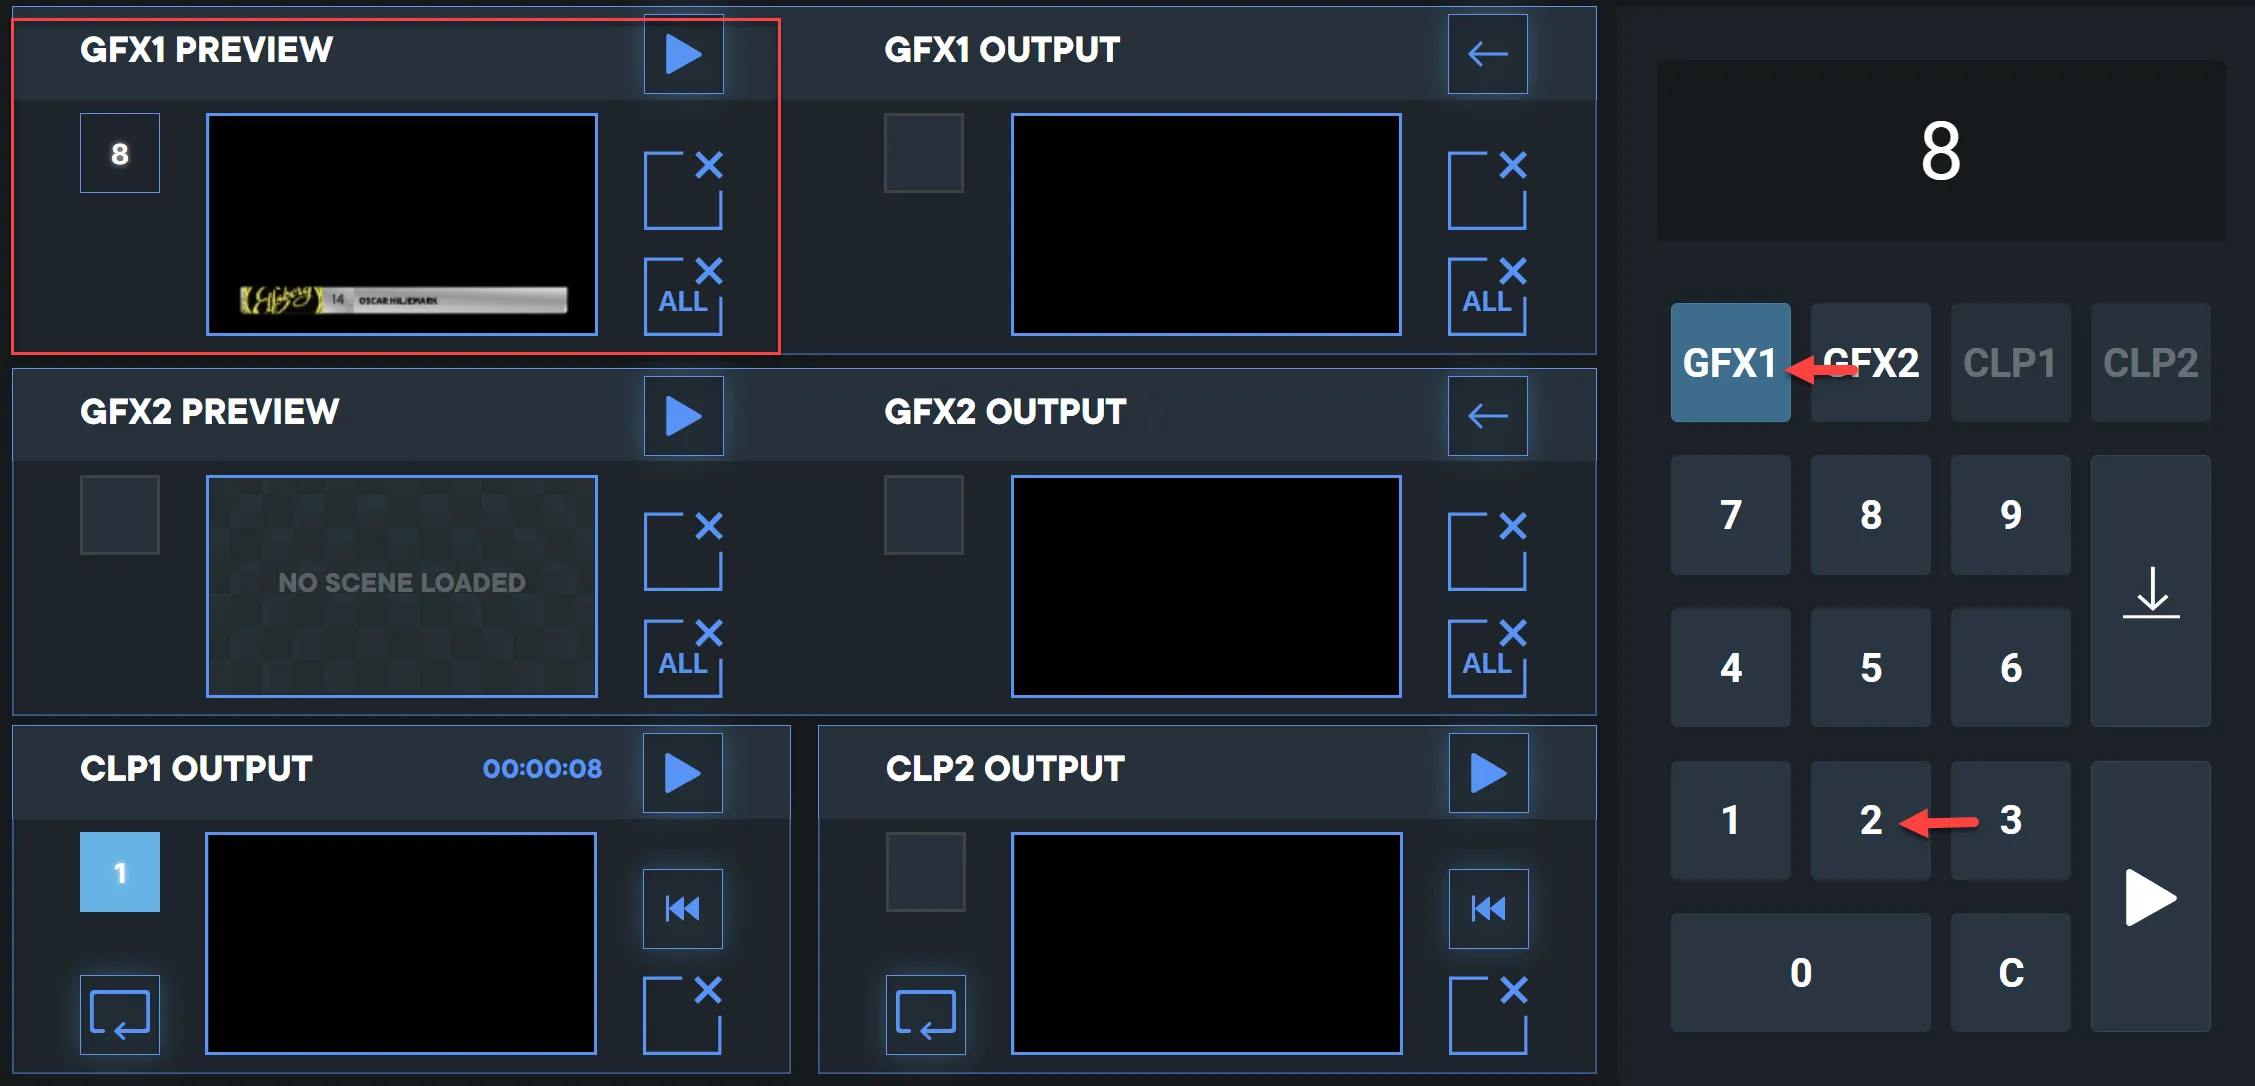
Do one of these;
- Click the Down Arrow button to load the graphic to the preview of the selected channel. The graphic appears in the Preview monitor, with a green border.
- Click the Play button to load the graphic to the output of the selected channel. The graphic appears in the Program monitor, with a red border.
